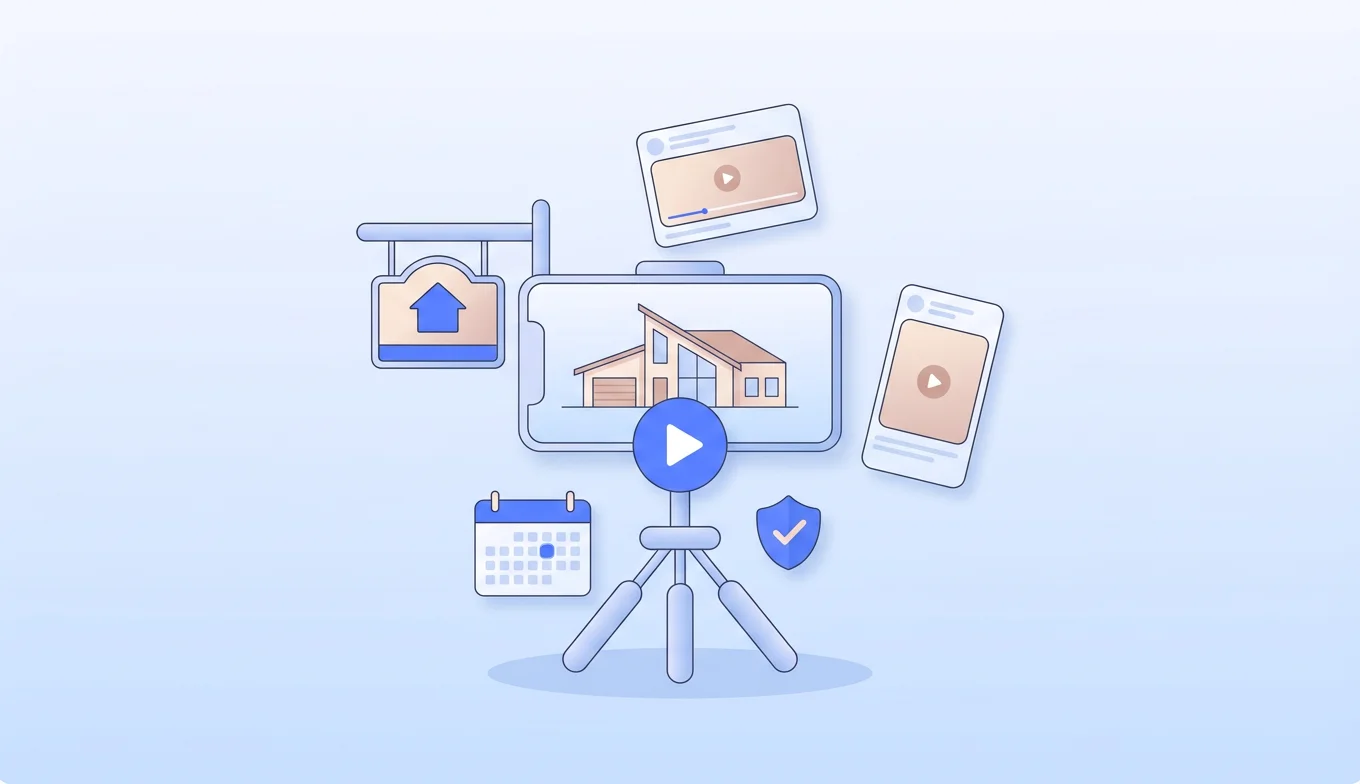
How Narration Videos Work in BIGVU
A narration video in BIGVU is built straight from your script, one sentence at a time. Instead of filming a presenter, you use Portrait to Video to turn a portrait into an AI avatar that speaks your lines in a natural voice.
The trick to making it look professional is variety. You render each sentence as its own short clip, called a "take," and switch the avatar's angle and background between takes. The same presenter shows up from different perspectives, exactly like a real multi-camera shoot.
Upload your own avatar images or select from existing options. You can also design your own influencer to match your brand or video tone.Once every line has a take, you sequence them into one continuous video and finish with B-roll, transitions, and captions. To start, all you need is a BIGVU account, a portrait to use as your avatar, and a short script. Three to five sentences is perfect for your first one.
![[object Object]](/blog/images/airtable/section1-create-narration-video-bigvu-portrait.webp)
Step 1: Create Your Takes Line by Line with Portrait to Video
Open the Script Editor and enter your narration one sentence at a time. This line-by-line approach is what lets you give each moment its own look. Click on Emotion to add in more personality.
For each sentence, use Portrait to Video: choose or upload your portrait for that specific line. Vary the angle as you go, such as a straight-on shot for one line and a three-quarter turn for the next (coming soon!). That variety is what keeps the video dynamic instead of a static talking head.
Then pick the AI voice that reads the line or clone your own voice. BIGVU has natural-sounding voices in multiple languages, so choose one that fits your audience, and shape the delivery with motion and tone settings like an energetic, educational style. Preview the line, render it, and the take drops into your project.
In the project, click on Script in the top right corner to repeat for every sentence until each line has its own take, with its own angle.
![[object Object]](/blog/images/airtable/section2-create-narration-video-bigvu-portrait.webp)
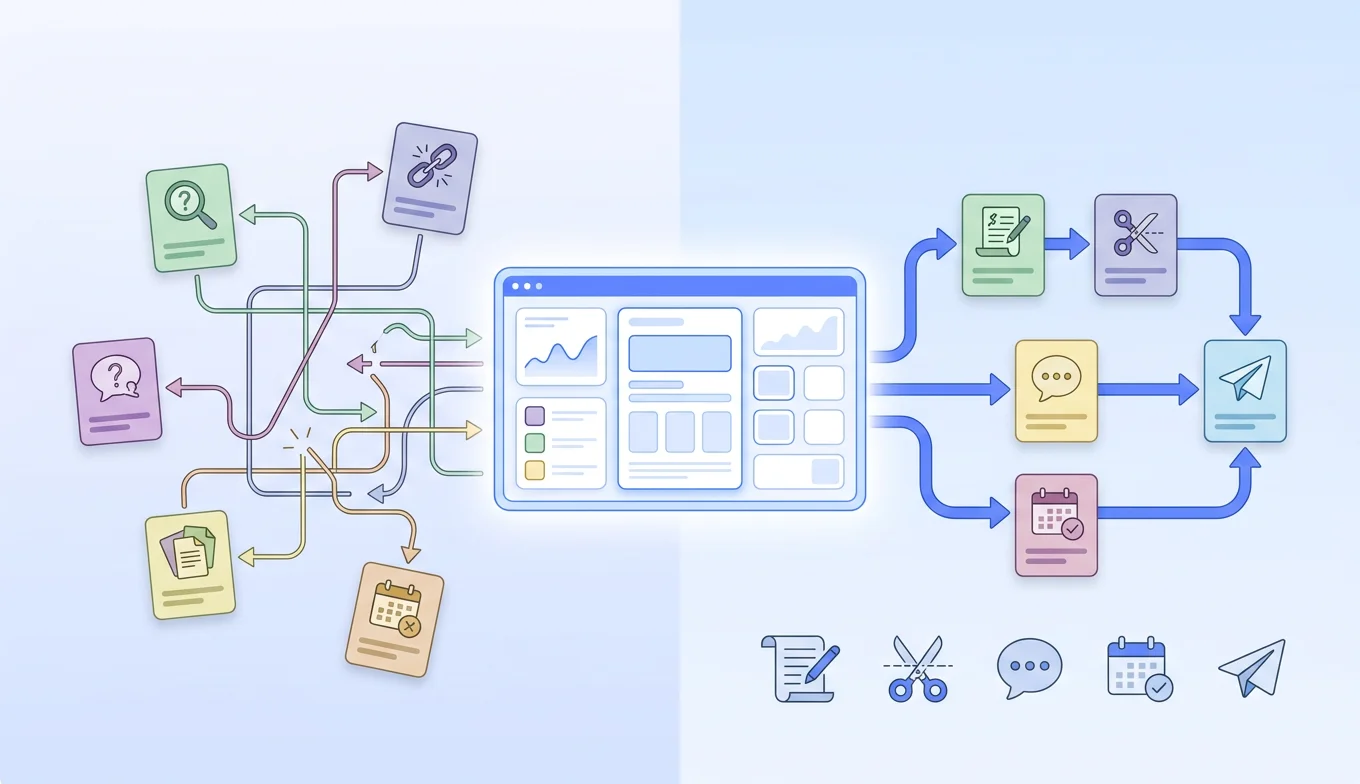
Step 2: Sequence Your Takes Into One Video
With every line rendered as its own take, open the Sequencer to stitch them into one continuous video.
Start by setting your orientation to match your avatar. If your Portrait to Video takes are vertical, choose vertical so nothing gets cropped. Then drag your takes into the Sequencer in script order, arranging the different angles into a natural flow. Hit Play All to watch it end to end and check the pacing.
When the order feels right, click Create Video. BIGVU renders the full sequence and adds it to your project as a new take, and that combined version is what you'll finish with B-roll and captions next.
![[object Object]](/blog/images/airtable/section3-create-narration-video-bigvu-portrait.webp)
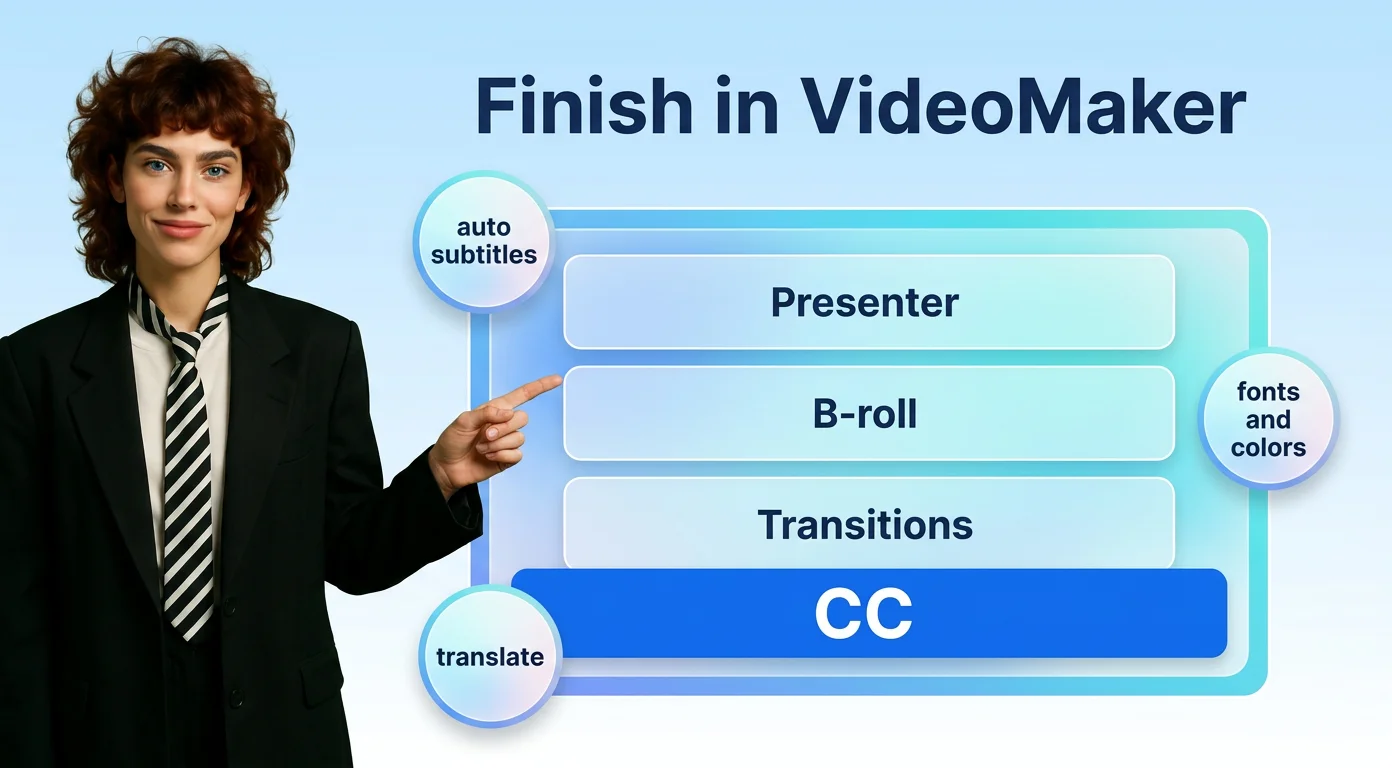
Step 3: Add B-Roll, Transitions, and Captions in VideoMaker
With your sequenced video ready, open it in BIGVU's VideoMaker to finish everything in one place, with no external editor needed.
First, layer in B-roll so the video isn't only your avatar. Supporting footage, screen recordings, and animated screenshots all help illustrate your narration. Add transitions and effects to smooth the cuts between your takes and make the video engaging enough for ads and social.
Then it's time for captions. BIGVU generates subtitles automatically in your script's language, and can translate them into others. Set the orientation, subtitle language, words per scene, and layout, then apply. From there, fine-tune the caption text and position and style the theme with your own fonts and colors.
When it looks right, generate your final video, ready to download and post.
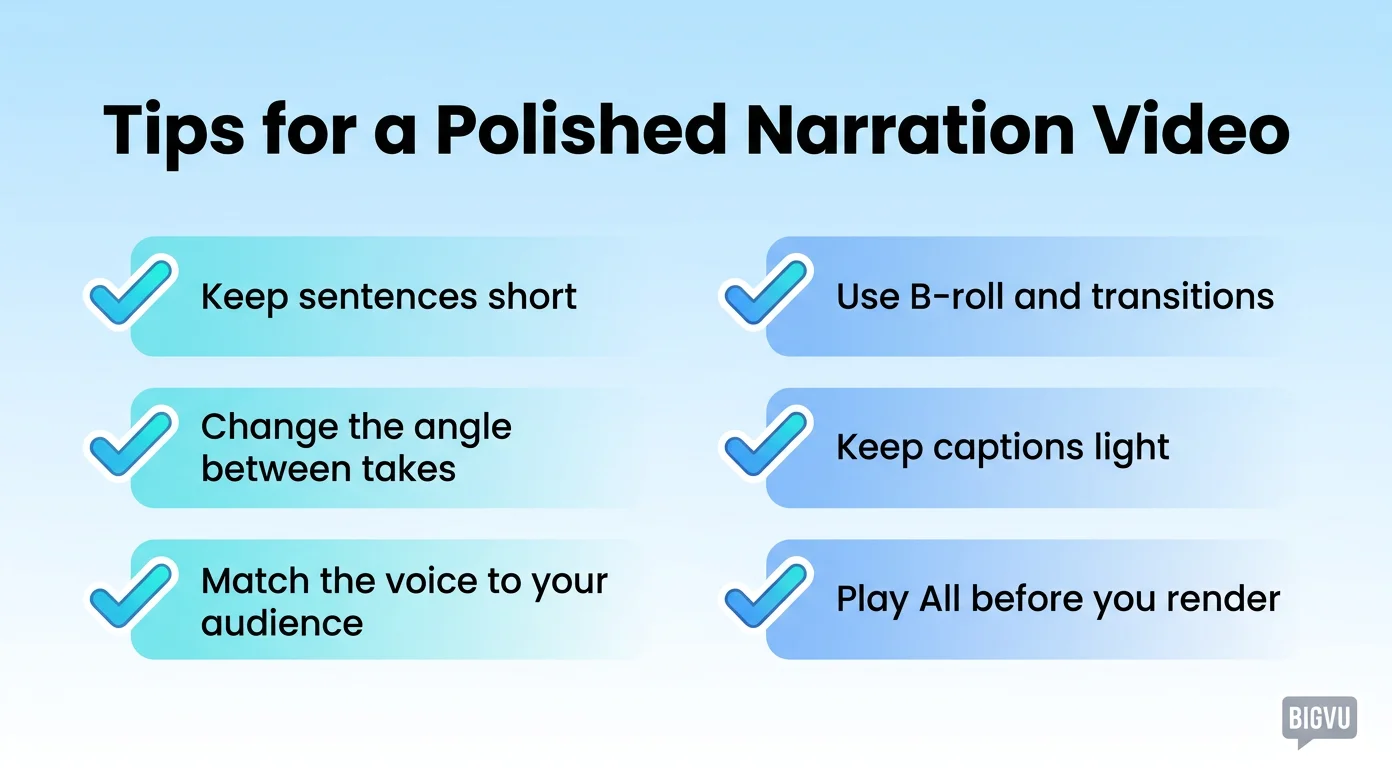
Tips for a Polished Narration Video
A few habits make your first narration video look like it came from a studio:
- Keep sentences short. They render cleanly as takes and are far easier to sequence.
- Change the angle between takes. Varying the avatar's angle and background makes it feel like a multi-camera shoot, not one frozen shot. Coming soon in BIGVU, or upload your own avatar images with different angles.
- Match the voice to your audience. Natural delivery in the right language is what sells the narration.
- Use B-roll and transitions. They bridge your takes and let you show, not just tell.
- Keep captions light. A low words-per-scene count keeps text readable on phones, where most short-form video is watched.
- Play All before you render. Catching a pacing issue or a mismatched angle now beats re-exporting later.
After your first narration video, the whole method becomes second nature, and the next one comes together in a fraction of the time.